I'm almost done with the dining room! Yippee!
What started as a slow project simply because I was already in paint clothes turned into a massive day of painting Sunday. We had found a buffet and dining chairs we loved on super sconto (Italian for massive sale, it's a term I still use from my year abroad) at Restoration Hardware. We were told we would get a call around the 18th to schedule delivery. Well, they called on the 11th and wanted to deliver on the 17th! So my timeline got sped up a little bit, and we busted this room out. It helped a lot that Sean had the time to help paint, so he rolled the ceilings and walls while I did the trim and cut-ins.
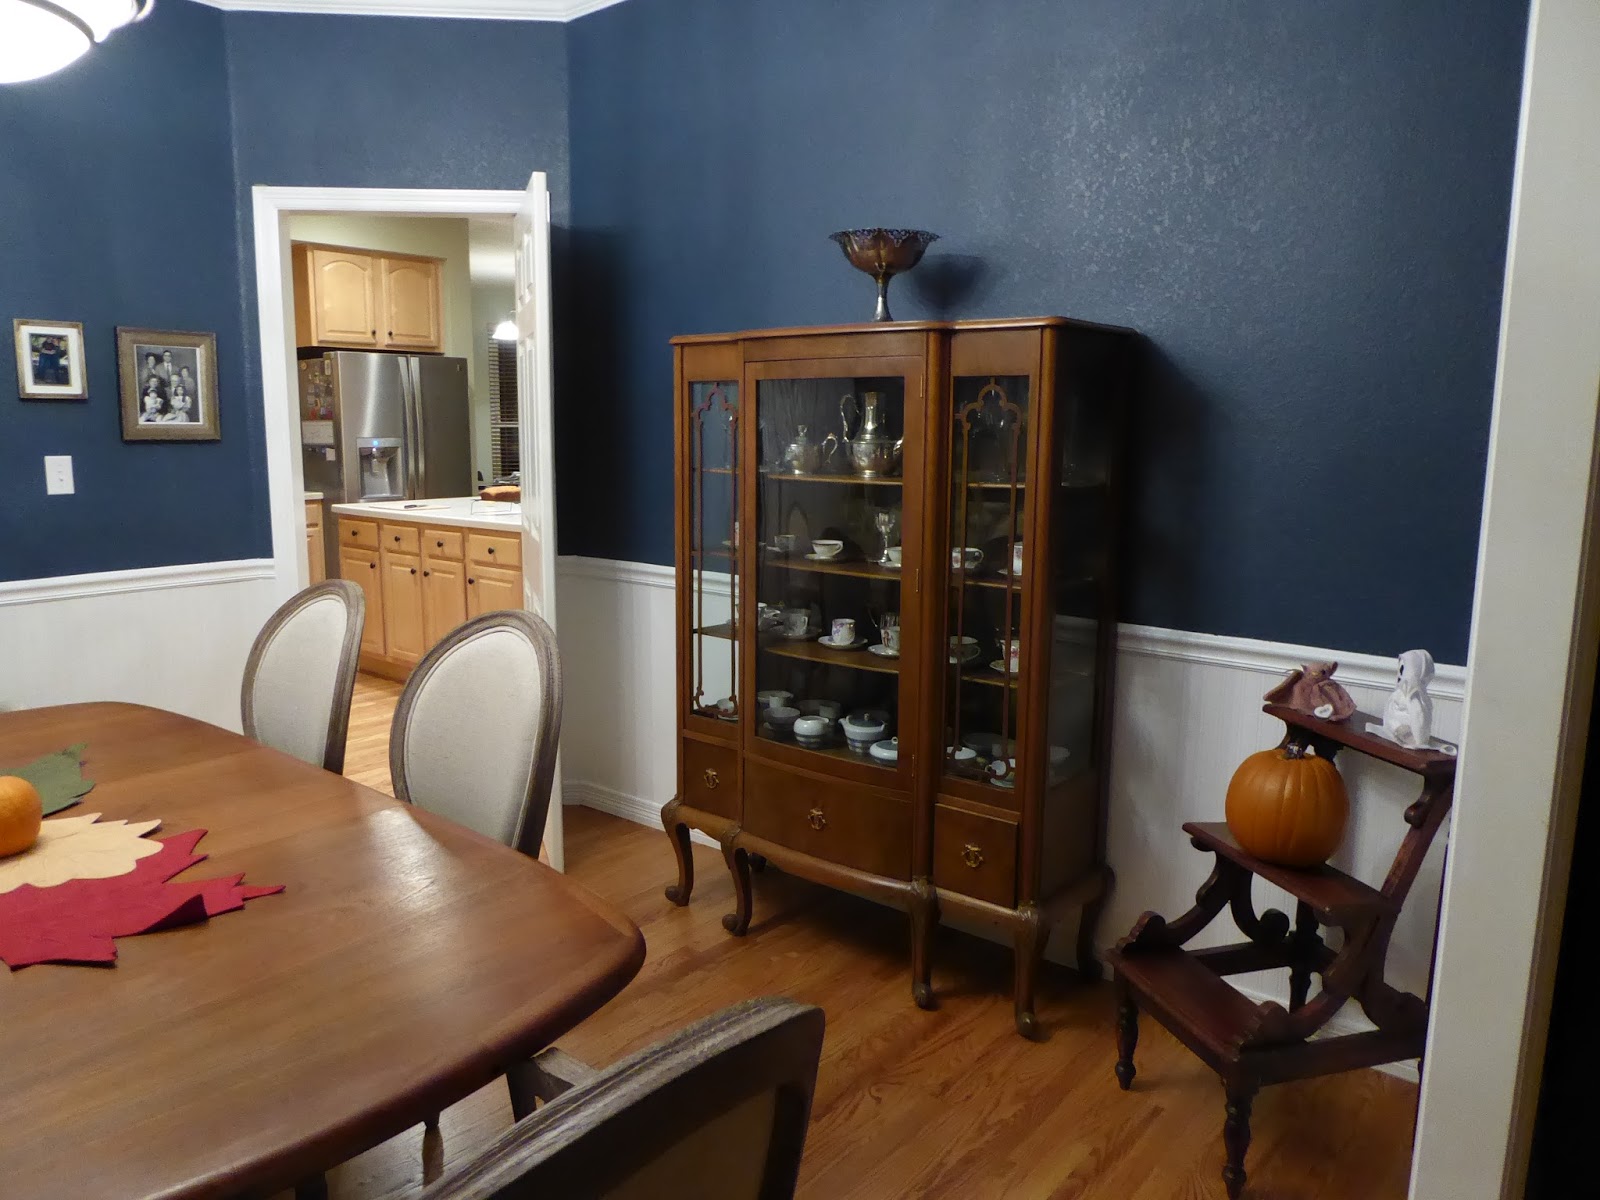
Here it is, the nearly finished dining room!
What do I still need to do?
I need to finish the painting around the window -- you can't see it here because the blinds are closed but I have to do the window surround in sections as I carefully pull back the blinds. The way that valance above it attached to the wall, neither it nor the blinds can easily come down without destroying some drywall. But I can be careful enough that it's not a huge problem, just slow going.
I also need to finish getting up that collage wall over the buffet. And put pictures in the frames! That's a picture from our wedding as the large center one, and the plan is to put black and white family photos radiating outwards. I have more frames, but they don't all have hanging hardware yet, so that's why it looks lopsided. I spaced out the arrangement on the table, started hanging, and had somehow grouped the frames without hardware. What can I say, it looked good!
So that's where we are with the dining room right now! I'm so excited to have to looking good, and to have a place to store everything that had been under the china cabinet. It makes me want to host a holiday gathering in here!
Showing posts with label paint. Show all posts
Thursday, November 19, 2015
Monday, November 9, 2015
Work on the Dining Room Begins
This past week I've been spending most of the day painting for a play. And since I'm already wearing paint clothes when I get home, I've started working on the dining room in bits and pieces:
I'm using beadboard wallpaper below the chair rail to simulate actual wainscoting. (A product that has a bit of a learning curve, but is fairly forgiving when it comes to fixing seams.) I'll then paint it in the same semi-gloss white that I've used for the trim throughout the house. Above the chair rail I'm planning on a deep navy like some of these inspiration images:
dining room inspiration from HGTV
dining room inspiration from 58 Water Street
The dining room still has a ways to go before I'll call it "finished" -- I still need to find the perfect chairs and buffet, and after the painting is done I have plans for a wall of black and white family photos that I still need to collect from the parents. But it's great to finally be making some progress in here, slow though it may be!
Thursday, May 7, 2015
#WasteNot 30 Day Challenge: Day 16
Today is my sixteenth day of the #WasteNot challenge, sponsored by Travel Well Magazine. Today I'll share a way I reuse when working on a set.
Painting backdrops requires a lot of custom paint mixing. And because of the size, it's not so simple as mixing on a palette like you would when painting on a canvas. So, for the months leading up to painting a show, I collect any yogurt containers that otherwise would go in the recycling and wash them out very well. Then, I reuse them to hold paint. Yogurt containers are a great size for this, but any container with a lid that seals well will do: coffee cans, glass jars, etc.
How do you reuse containers before they head to the recycling?
Subscribe to:
Posts (Atom)

